Chicken Coop Lighting Guide for Poultry Farms
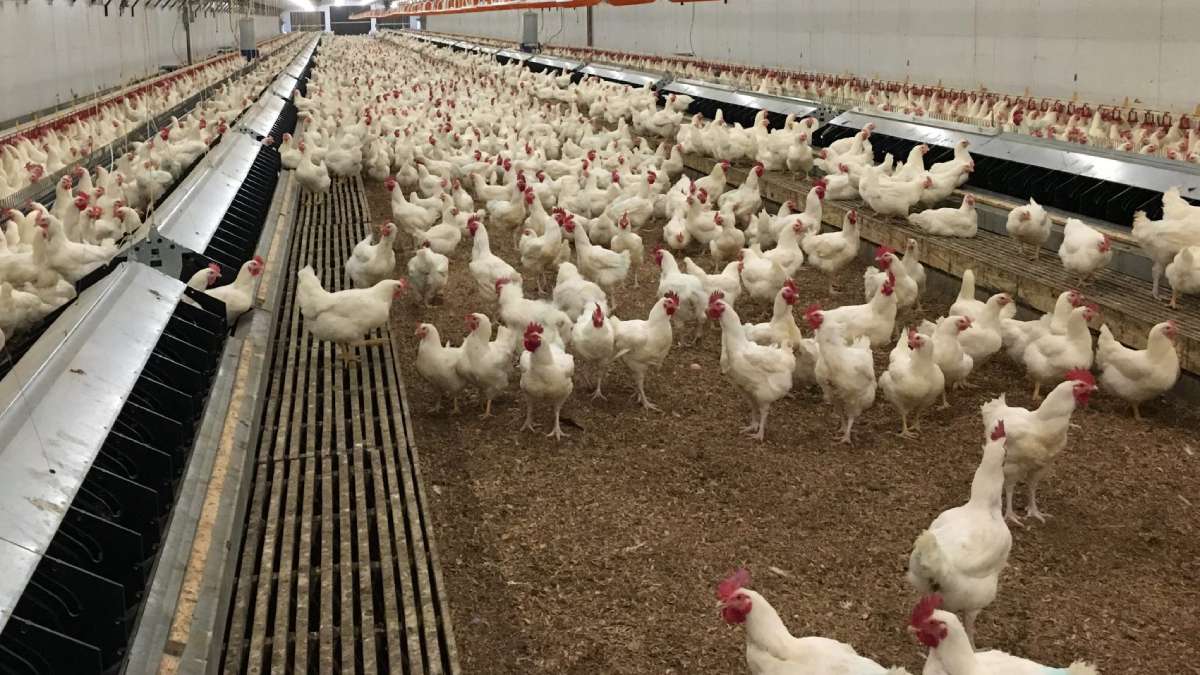
Efficient chicken coop lighting is one of the most critical factors for modern poultry farms. Whether you manage layers for egg production or broilers for meat, proper light management influences growth, feed conversion, stress response, and overall productivity.
Unlike humans, chickens see a wider light spectrum including UV, which means lighting must be tailored to their biological needs.
In this guide, we will explain how different light colors affect poultry behavior and performance, outline practical lighting programs for layers and broilers, and show how tools such as timers and spectrometers help farmers achieve consistent, profitable results.
Table of Contents
Why Chicken Coop Lighting Matters?
Chicken Vision and Light Spectrum Basics
How Different Light Colors Affect Poultry Performance?
Chicken Coop Lighting for Broilers (Meat Chickens)
Chicken Coop Lighting for Egg Production (Layers)
How to Test, Control, and Improve Poultry Lighting Systems?
Conclusion: Long-Term Value of Chicken Coop Lighting
Why Chicken Coop Lighting Matters?
Light is more than visibility for poultry. It controls feeding, growth, and egg-laying cycles. Birds rely on consistent light to regulate their biological clock, which in turn affects productivity.
For broilers, proper lighting programs encourage steady feed intake and balanced weight gain. For layers, the right duration and spectrum directly influence egg size, shell quality, and laying consistency. Without controlled LED barn lights, farms often face uneven growth, stress-related behavior, and reduced efficiency.
Equally important, lighting helps maintain order inside large coops. A well-lit environment reduces aggression, keeps chickens active during set hours, and supports overall welfare. Good lighting is not an expense—it's an investment in flock health and farm output.
Smoothly managed lighting lays the foundation for every other aspect of poultry farming. Next, let's explore how chickens actually see and why spectrum matters.
Chicken Vision and Light Spectrum Basics
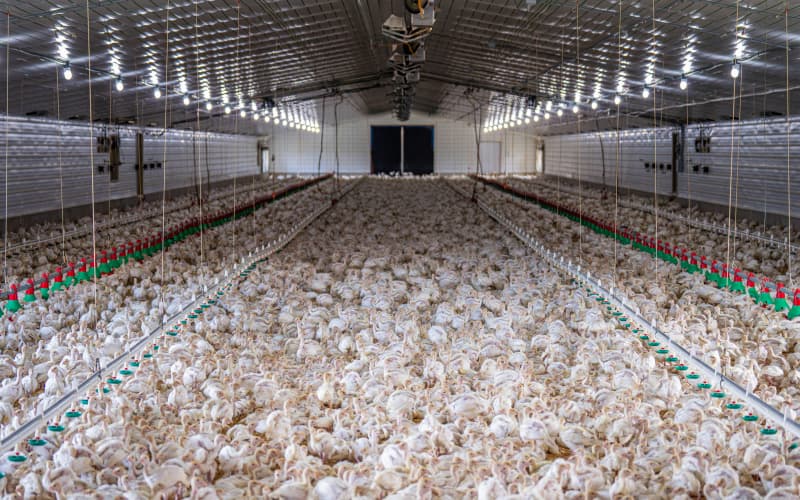
Here, we will learn something about poultry lighting science. Chickens perceive light differently from humans. Their eyes detect a 300–700 nm spectrum, covering ultraviolet, blue, green, and red wavelengths. This wider range gives them visual abilities far beyond our 380–750 nm limit.
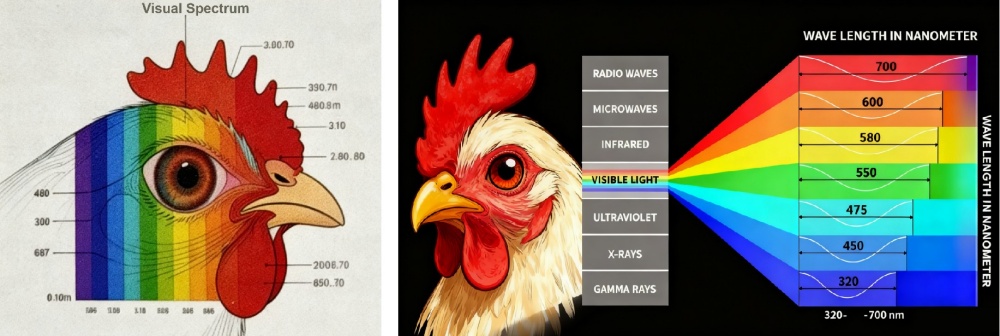
Their retina contains four cone types—each tuned to UV, blue, green, and red—plus double cones that enhance motion and brightness detection. This structure allows chickens to assess food freshness, notice parasites, and even sense flock health.
Because of this, light spectrum, not just brightness, strongly shapes poultry behavior and productivity. Understanding this vision system is the foundation for designing effective chicken coop lighting programs.
How Different Light Colors Affect Poultry Performance?
Modern chicken coop lights are more than just illumination. Different wavelengths directly affect poultry growth, stress levels, reproduction, and egg quality. Understanding these effects helps farms select the right spectrum for their production goals.
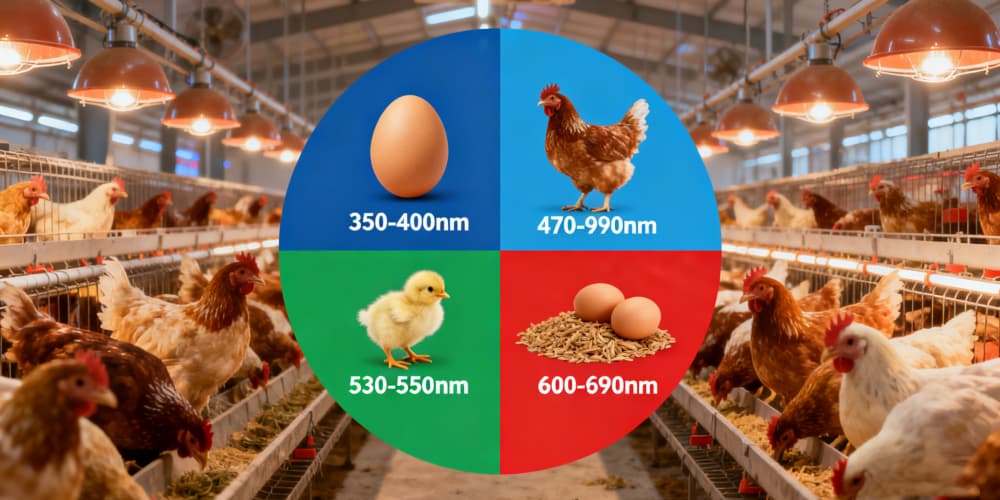
(1) Ultraviolet (UV, 350–400 nm)
Key benefit: Enhances vitamin D3 synthesis → better calcium absorption.
Result: Stronger eggshells, up to 0.05 mm thicker; soft-shell rate reduced below 0.5%.
Best use: 1 hour of UV exposure daily for laying hens.
(2) Blue Light (480–490 nm)
Key benefit: Lowers stress hormones, calms broilers.
Result: Escape attempts during handling reduced by 70%; meat tenderness improved.
Best use: Last 3 days before slaughter to keep birds calmer.
(3) Green Light (530–550 nm)
Key benefit: Stimulates muscle and bone growth in chicks.
Result: Leg bone length increased by 8%, growth rate up by 12%.
Best use: First 2 weeks of broiler rearing with 18h/day green-dominant light.
(4) Red Light (660–680 nm)
Key benefit: Stimulates feed intake and reproduction.
Result: 20% higher feed intake; fertilization rates up to 92%.
Best use: Breeding and laying periods to maximize productivity.
Light Spectrum and Poultry Performance
| Light Color | Wavelength (nm) | Main Effect | Practical Outcome | Best Use Stage |
|---|---|---|---|---|
| UV | 350–400 | Vitamin D3 synthesis, calcium absorption | Thicker shells, fewer soft eggs | Laying hens |
| Blue | 480–490 | Stress reduction | Calmer handling, better meat quality | Pre-slaughter |
| Green | 530–550 | Muscle and bone growth | Faster weight gain, stronger legs | Broiler chicks |
| Red | 660–680 | Feed intake, reproduction | More feed, higher fertility | Breeders & layers |
In short: Strategic use of color-specific chicken coop lights ensures healthier flocks, stronger eggs, and higher yields. Next, we'll see how these principles apply to broilers in practice.
Chicken Coop Lighting for Broilers (Meat Chickens)
Broiler lighting must follow two clear stages: brooding (0–2 weeks) and grower/finisher (≥3 weeks to market). Stage-specific spectrum, intensity and cycles drive feed intake, uniformity and final weight.
Spectrum. Use the blue–green range (≈415–560 nm) during both stages to promote growth and feed conversion; fast-growing white strains often benefit from a higher blue ratio (≈480–500 nm).
(1) Intensity & uniformity
Brooding (first week): bright start is critical — 20–30 lux (or ~30 lux at placement) to stimulate feeding and navigation. Keep brightness differences small; aim Uo ≥ 0.5 (min/max) and U₁ ≥ 0.7 (min/avg) to avoid crowding and feed-fight zones.
Growing → finishing: progressively reduce to 10–20 lux (grower) then 5–10 lux (finisher) to lower activity and improve feed efficiency.
(2) Flicker & stability
Use flicker-free LED drivers and high-frequency ballasts; minimize perceptible flicker for birds (recommended practical target: high frequency to avoid physiological effects.
(3) Photoperiod strategy
Start with 23 h light : 1 h dark at placement to encourage feeding and acclimation. From day 4–14, reduce photoperiod gradually toward ~18 h; in finishing, intermittent programs (e.g., cycles of 1 h light : 3 h dark) are proven options to maintain performance while saving energy.
Quick reference — Broiler lighting (practical)
| Stage | Age | Spectrum | Intensity (lux) | Typical cycle |
|---|---|---|---|---|
| Brooding | 0–7 days | 415–560 nm (blue/green) | 20–30 | 23L : 1D (first days) |
| Early grower | 8–21 days | 415–560 nm | 10–20 | Gradually shorten to 16–18 h light. |
| Finisher | 22 days → market | 415–560 nm (more green) | 5–10 | Intermittent options (e.g., 1L:3D cycles) for calm birds & feed conversion. |
Chicken Coop Lighting for Egg Production (Layers)
Unlike broilers, which focus on fast weight gain, layers depend on carefully controlled lighting to optimize egg production, shell strength, and laying cycles. Poor light management can delay sexual maturity or reduce overall egg yield.
1. Light Spectrum for Layers
Red–Orange Light (600–700 nm): Stimulates the hypothalamus, promoting sexual maturity and ovulation.
Warm White (similar spectrum 2700–3500K): Often used in commercial layer houses to encourage consistent egg laying.
Avoid excessive blue/green dominance: While calming, these can delay laying onset if used alone.
Key Point: Layers need more red light stimulation compared to broilers, as reproduction is the main goal.
2. Recommended Light Intensity
Pullet rearing (0–16 weeks): 10–15 lux is enough; excessive brightness causes nervousness and feather pecking.
Laying period (>16 weeks): 10–30 lux ensures hens can see feed, water, and nesting boxes clearly.
Nest area: Slightly dimmer (<10 lux) encourages hens to use nest boxes instead of floor-laying.
3. Light Cycle Control
Layers respond strongly to day length. A correct schedule initiates laying at the right age and sustains peak production.
| Stage | Age (weeks) | Photoperiod (h) | Intensity (lux) | Notes |
| Brooding (0–6w) | 0–6 | 20–23L | 10–15 | Long light to stimulate feeding and growth |
| Growing (7–16w) | 7–16 | 8–10L | 10–15 | Short days prevent premature sexual maturity |
| Pre-Lay (17–18w) | 17–18 | 12–14L | 10–20 | Gradual increase prepares hens for laying |
| Laying (>19w) | 19+ | 14–16L | 15–30 | Maintain stable long days to sustain egg yield |
In summary:
Chicken coop lighting for egg production should be red-dominant, stable, and uniform with careful control of day length. A smooth transition from rearing to laying cycles helps prevent early maturity, improves egg shell quality, and maximizes long-term productivity.
How to Test, Control, and Improve Poultry Lighting Systems?
Poultry lighting only delivers results when it is measured, adjusted, and tracked. Poultry farms benefit from using the right tools and a consistent management routine.
1. Measuring Light Intensity
Lux meters with at least ±5% accuracy are essential.
During brooding, check illuminance at the drinkers and feed trays (20–30 lux recommended).
In the growing and laying phases, measure directly above feed troughs (5–20 lux depending on stage).
Take readings at multiple points to ensure uniformity (Uo ≥0.5) across the house.
2. Managing Light Spectrum
Different bulbs deliver different results:
Standard LED white light: balanced red, green, blue spectrum but no UV.
Special UV lamps (350–400 nm, ≥80% UV share): improve calcium metabolism and eggshell quality.
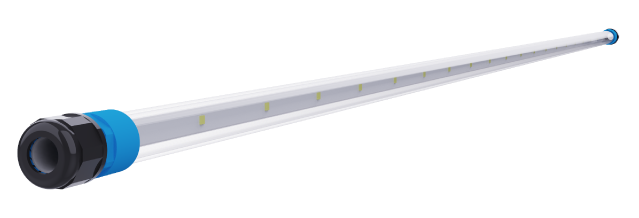
Blue-spectrum tubes (480–490 nm, ≥90% blue share): useful in broiler houses to reduce stress and improve feed conversion.
Best practice: Combine general white LED lighting with targeted spectrum lamps for specific outcomes.
3. Timers and Automation
Programmable timers avoid sudden switches on/off that stress birds. Gradual dimming is recommended.
Cycle control: For broilers, use intermittent cycles (e.g., 1h light + 3h dark) in finishing stages. For layers, ensure stable 14–16 hours daily once laying begins.
Central controllers or mobile apps allow precise scheduling across multiple houses, reducing labor.
4. Evaluating Lighting Effectiveness
Lighting is not an end in itself—farm results must confirm success.
Broilers: Track daily weight gain, feed conversion ratio (FCR), time to market, and carcass quality.
Layers: Monitor laying rate, average egg weight, shell thickness, and percentage of soft-shelled eggs.
Behavioral cues: Uneven clustering, feather pecking, or floor eggs may signal poor light uniformity.
In short: Consistent testing, spectrum management, and automated scheduling turn chicken coop lights into a real production tool. By combining measurement with results tracking, farmers ensure lighting investments deliver higher yields and healthier flocks.
Conclusion: Long-Term Value of Chicken Coop Lighting
Chicken Coop Lighting is more than illumination—it directly impacts poultry growth, health, and productivity. Correct light spectrum, intensity, and cycle management improve feed conversion in broilers and enhance eggshell quality and laying rates in layers.
Using proper tools, timers, and measurement methods ensures consistent lighting, uniformity, and minimal stress for birds. Spectrum-specific lights like UV, blue, green, and red can be targeted to achieve precise outcomes, from stronger bones to calmer behavior.
Automation and careful monitoring help farms maintain stable light environments, accounting for seasonal changes and breed differences. By linking lighting management with performance tracking—weight gain, FCR, egg production, and shell quality—farmers can optimize both efficiency and animal welfare.
In short, LED Lighting for Chicken Coop is a strategic investment. Properly implemented, it drives healthier flocks, higher yields, and long-term farm profitability.
Related Product
_thumb.jpg)
